Eric.R
Pond Building Expert
Published on September 20, 2024
Category: Uncategorized
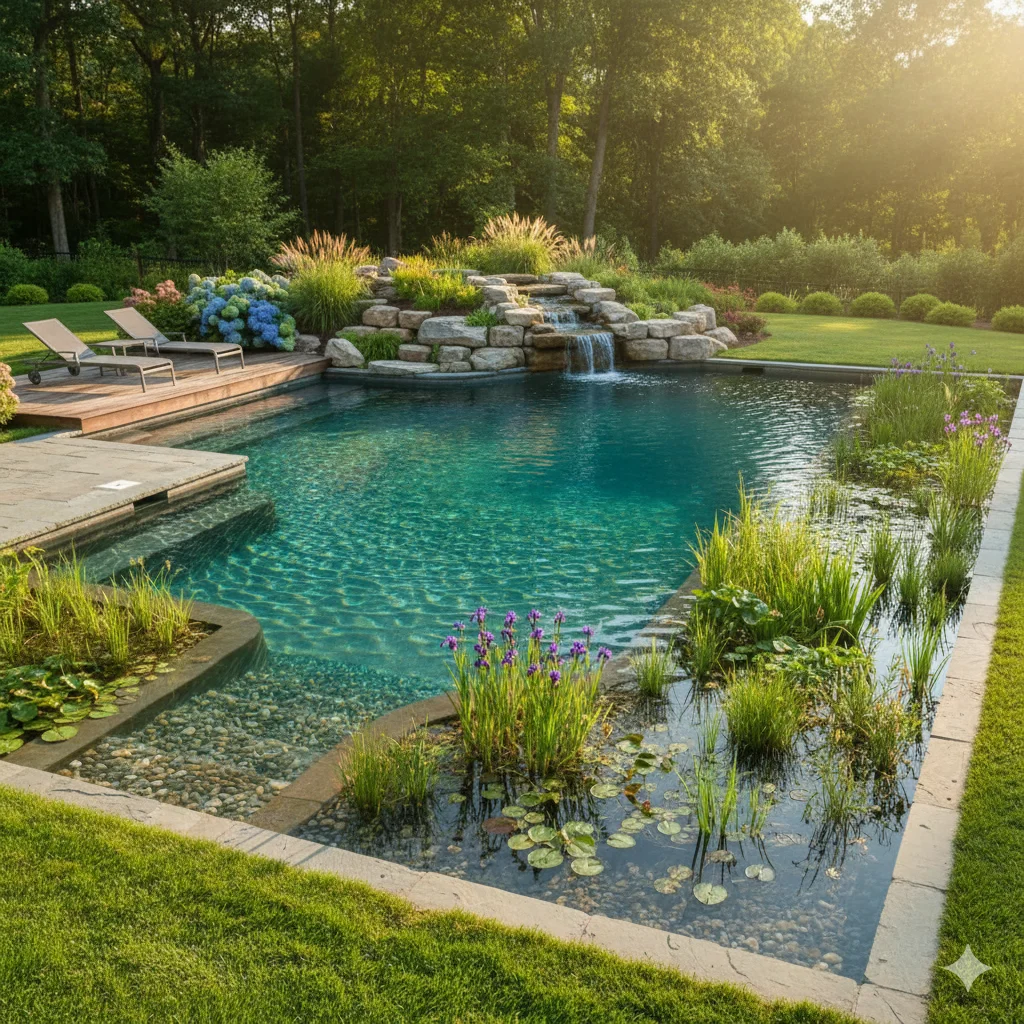
Why Waterfall Design Matters
A well-built waterfall can be the heart of a pond or stream, adding movement, sound, and visual drama. For beginners, success comes from blending aesthetics with functionality—creating something that looks natural while operating efficiently and staying easy to maintain.
Step 1: Plan Your Sound and Visuals
-
Vary Spillway Widths: Wider spills create gentle, sheet-like flows; narrow ones create faster, more energetic streams.
-
Mix Drop Heights: Small drops (2–4 inches) produce soft, bubbling sounds, while larger drops (8–12 inches) add a deeper roar.
-
Balance Variety: Too much uniformity looks man-made; a mix of widths and heights creates a more natural soundscape.
Step 2: Stone Selection and Placement
-
Choose Weathered Stones: Irregular shapes and textured surfaces look more natural than cut blocks.
-
Anchor Large Stones First: Place your largest boulders at key points—spill edges, corners, and framing positions.
-
Layer Smaller Rocks: Tuck medium and small stones to hide gaps and blend edges.
-
Hide the Liner: Overlap stones so no visible liner is exposed.
Step 3: Controlling Flow
-
Use a Ball Valve: Allows fine-tuning of pump output for seasonal changes or desired sound levels.
-
Install a Bypass Line: During heavy rain, a bypass prevents water from overwhelming the waterfall and eroding edges.
-
Avoid Splash Loss: Angle spillways slightly toward the pond to minimize water loss from wind.
Step 4: Sealing and Foam Management
-
Waterfall Foam: Directs water over stones instead of letting it sneak behind them.
-
Neat Application: Keep foam lines tucked under rocks for a clean look and to protect from UV breakdown.
-
Check Annually: Foam can degrade over time—replace as needed.
Step 5: Lighting for Nighttime Impact
-
Oblique Angles: Position lights so they skim across rock surfaces, highlighting textures and water movement.
-
Warm Color Temperature: Use 2700–3000K LED lights for a natural, inviting glow.
-
Layered Lighting: Combine underwater spots for base glow with uplights on surrounding plants or boulders.
Step 6: Keeping It Natural
-
Integrate Plants: Use ferns, moss, and low-growing perennials near edges to soften stone lines.
-
Stagger Features: Avoid perfectly symmetrical drops; vary spacing to mimic natural streams.
-
Blend with the Landscape: Extend rocks and plantings beyond the immediate waterfall area so it feels like part of a larger ecosystem.
Beginner Mistakes to Avoid
-
Making every drop the same size.
-
Using overly uniform or freshly cut stone.
-
Letting foam show or using too much of it.
-
Forgetting to plan for maintenance access.
Bottom Line A beginner-friendly waterfall doesn’t have to look beginner-built. By mixing spillway sizes, hiding construction elements, controlling water flow, and adding subtle lighting, you can create a feature that looks like it’s been part of the landscape for years—and that will keep performing beautifully through every season.
More Articles

The Best Koi Fish Varieties for Austin Ponds
Learn the best koi fish varieties for Austin ponds, perfect for enhancing your aquatic landscape and creating a vibrant, thriving ecosystem.
Professional Koi Pond Repair Services in Austin, TX
Get expert pond repair for koi ponds in Austin. ATX Pond Builders restores water quality, fixes leaks, repairs equipment, and resolves structural issues for hea
Pond Leak Repair Costs in Austin, TX: What to Expect
Discover the average pond leak repair costs in Austin, TX. Get insights on what to expect and budget for your pond maintenance needs today!